FlexiHub Team uses cookies to personalize your experience on our website. By continuing to use this site, you agree to our cookie policy. Click here to learn more.
It can be quite challenging to connect external hard drives remotely. Especially when it is needed to access the files from several computers on the network. That is when it calls for you to share an external drive - either with the Windows built-in tools or with the help of advanced USB over Network software for USB drive sharing.
So the question is how to share external hard drives on a network? Read on to find the best way to share an external hard drive over a network.
Contents

That’s it! You now have all the functionality that you would have with a direct connection to the USB device.
Check out the video guide with the detailed steps on how to share hard drive over the network

A variety of routers nowadays have a USB port that can be used for connecting USB drives to share with other machines on your network. Once you’ve located the USB port on your router, go ahead and attach your USB external hard drive. Then, you can share an external hard drive by mapping it as a network drive over a WiFi network.
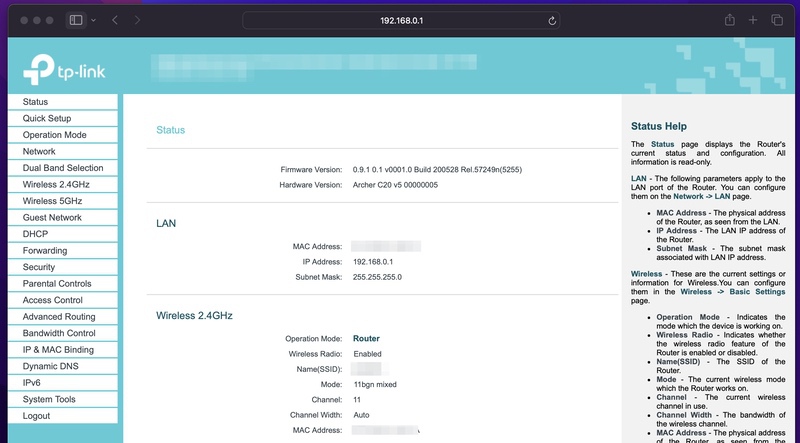
Pros: There are no additional hardware components or cables required to implement this method of sharing a hard drive over a network.
Cons: It is limited, however, by the range of the WiFi signal so will not provide remote access over great distances.
There are many situations where it’s helpful to share a drive on Windows 10 computers. You might want to share a collection of images, videos, or music files with your friends and colleagues. Many times, a large external hard drive that is physically attached to a computer requires access by other network-connected machines.

Here are the steps to follow if you want to share a hard drive over the network with Windows 10 systems. The Windows account sharing the device is required to be an admin account. One issue that needs to be addressed before you start is to password protect the drive that you intend to share. When connecting the drive over the network you will be prompted to enter a password and a blank is not acceptable. Your best strategy is to secure your drive with a password.
On the computer attached to the drive:
On the remote machine that will access the shared drive:
Add an exception to Windows Internet options to eliminate warning messages when moving data.
Sharing folders over a protected network in Windows 11 can help streamline collaboration and data accessibility between multiple computers. And in today’s interconnected world, this is a necessity.
To this end, this article provides a step-by-step guide to walk you through the processes of setting up folder sharing, ensuring network visibility, and establishing access permissions. Follow the instructions below to share files across your networks seamlessly.
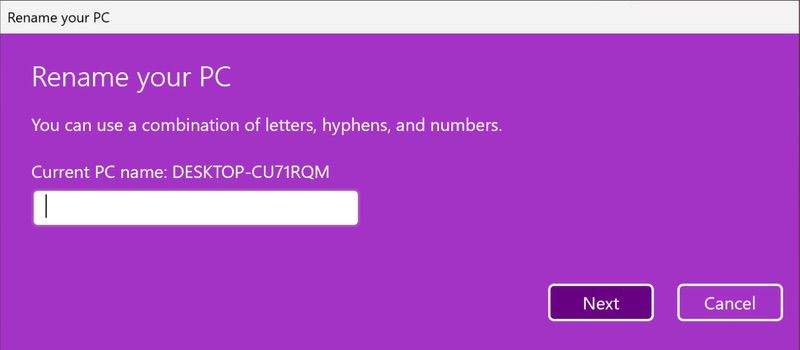
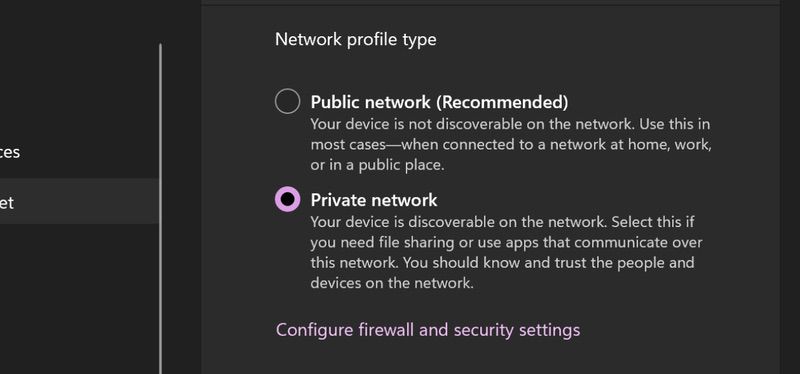
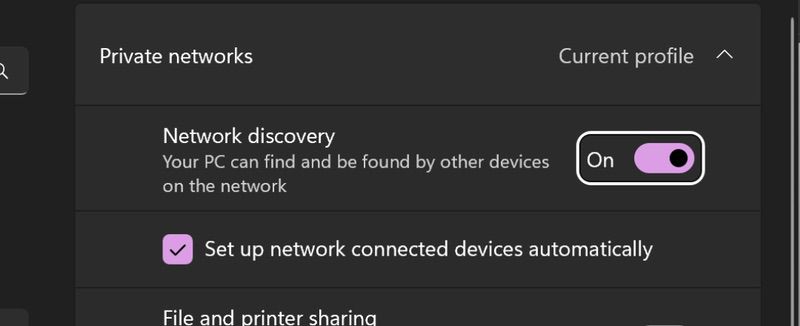
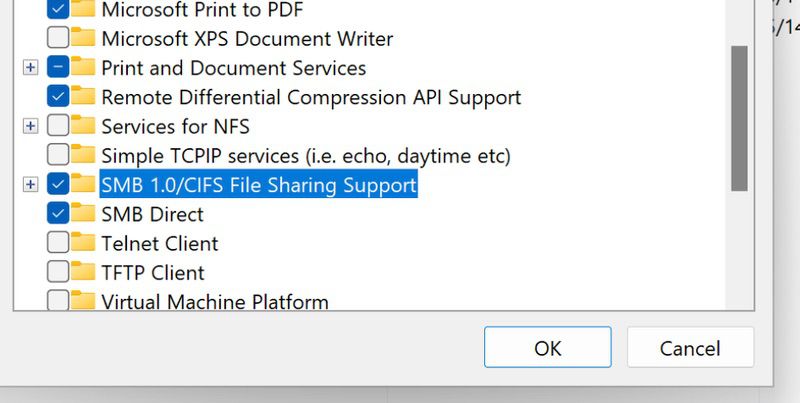
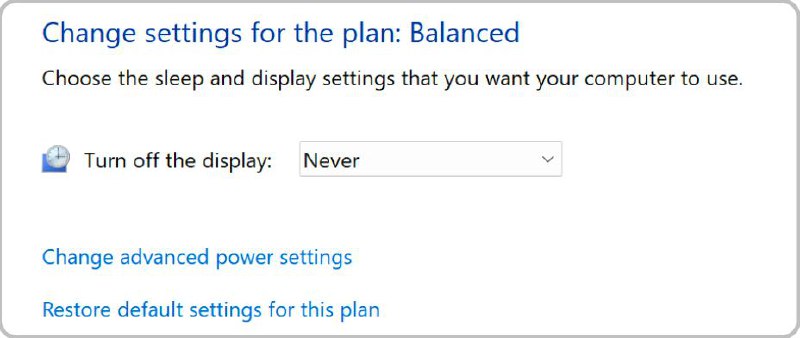
And there you have it! Just remember to ensure both computers remain on during the entire process.
We will also show you how to use a high-speed USB cable to share storage between computers. The solution is compliant with both USB 1.1 and 2.0. specifications. USB 2.0 is a good solution for sharing USB drives. You are, however, limited by the length of the cable which does not make this a viable solution for sharing devices with remote users.

FlexiHub