Cookie
FlexiHub Team uses cookies to personalize your experience on our website. By continuing to use this site, you agree to our cookie policy. Click here to learn more.
TeamViewer USB passthrough — How to access USB ports inside TeamViewer
Olga Weis Olga Weis Last updated Sep 8, 2026
Reviewed by Nikolai Svarachevsky, FlexiHub's Lead Developer, for technical accuracy.

TeamViewer USB passthrough — How to access USB ports inside TeamViewer

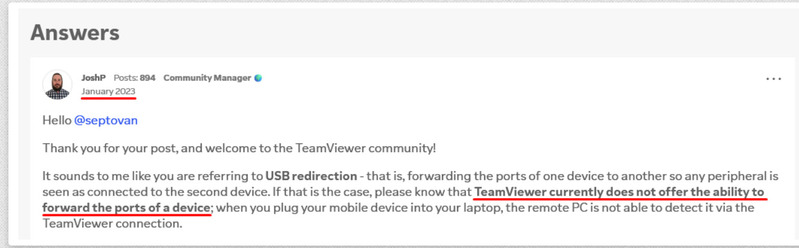
TeamViewer does not support native USB passthrough. It cannot make a USB device connected to one computer appear as a USB device on a remote computer. This is a known limitation, confirmed in TeamViewer's own community discussion.

TeamViewer community discussion

What TeamViewer can do is transfer files from a USB drive using its File Transfer feature. That's useful if you just need a document or a photo off a flash drive, but it's not the same thing as USB passthrough: the remote computer never actually detects the device.

If you need the remote computer to detect and use the USB device itself, such as a scanner, webcam, or security dongle, you need dedicated USB-over-network software such as FlexiHub, which redirects the device over the network so it appears as though it's physically plugged in.

Note: USB passthrough means forwarding a physical USB device to another computer so the remote operating system and its applications can interact with it directly, as if it were plugged in locally. This is different from simply transferring files that happen to be stored on a USB drive.
Need
TeamViewer File Transfer
FlexiHub
Copy files from USB storage checked checked
Remote computer detects the USB device checked checked
Use a USB security dongle remotely checked checked
Operate a USB scanner remotely checked checked
Access USB-to-serial hardware checked checked

How to share USB to a TeamViewer session

It’s hard to imagine a solution that can share USB devices faster and more securely than FlexiHub - a software application designed precisely for this purpose.

FlexiHub
4.8 Rank based on 386+ users
Software for redirecting USB

What makes Remote USB efficient is the USB port redirection technology it uses. Thanks to this advanced technology, the app can work with USB devices of virtually any type and over any distance.

Here's how you can share a USB device on your local computer and connect to it across the Internet from a remote PC:
  • 1.
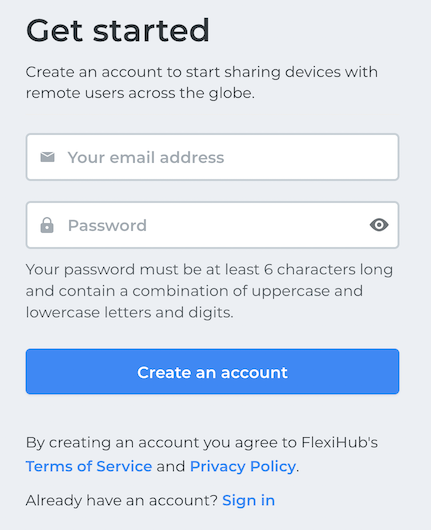
    To start, create a FlexiHub account on the app's official website.
    register flexihub account
  • 2.
    Then, confirm your email address and start your free demo subscription. blank
  • 3.
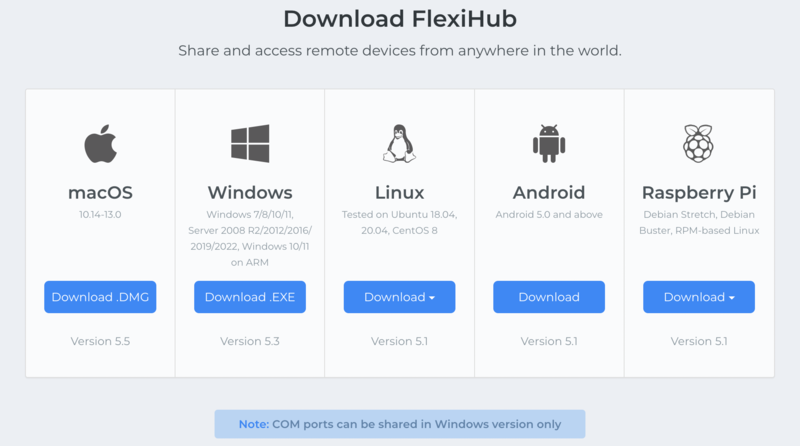
    After that, download the app and install it on the computer with the device plugged in and on the remote machine from which you are going to connect to the device.
    installation
  • 4.
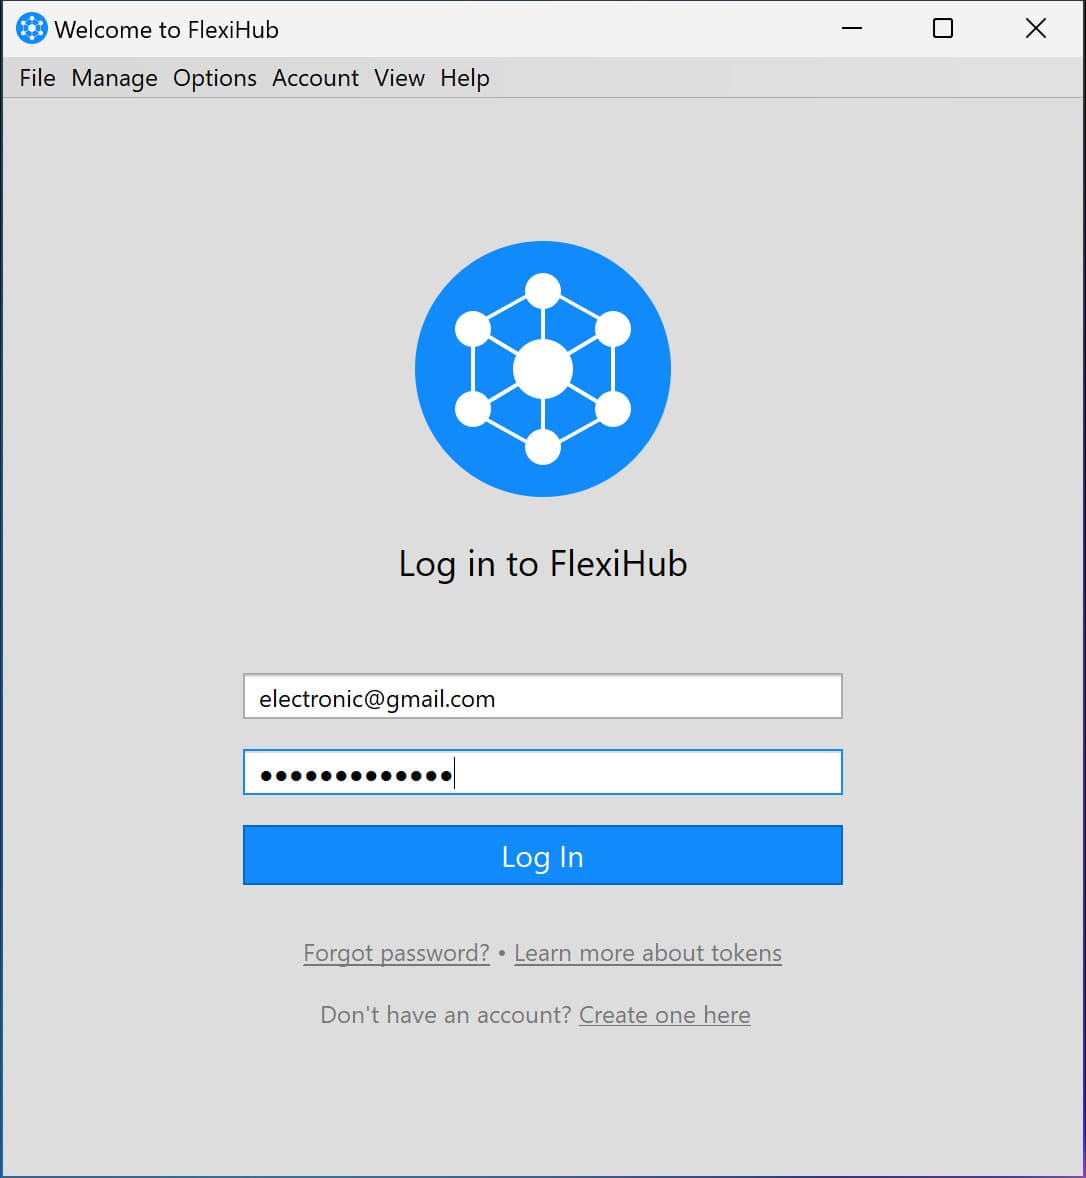
    Start the program on both machines and log in to your FlexiHub account using the same login credentials.
    installation
  • 5.
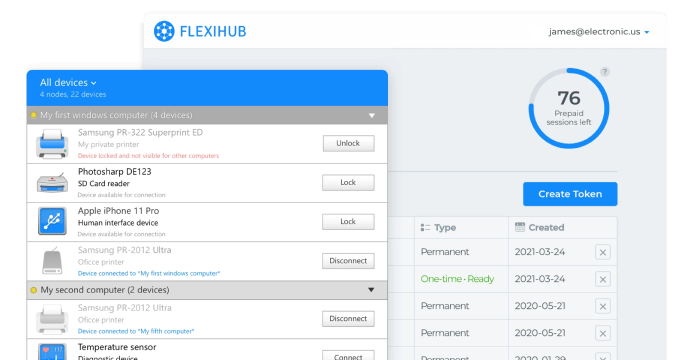
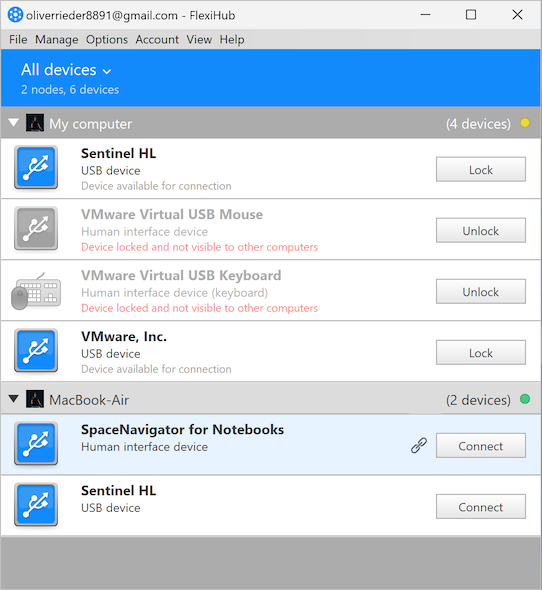
    Once done, on the client computer, FlexiHub will show you the list of USB devices available for remote connection. Now, all you need to do is click "Connect" next to the required peripheral.
    connection

This is it! The connected remote device will appear in the Device Manager of the client computer as though it were physically attached to that machine.

FlexiHub
4.8 Rank based on 386+ users

What’s also nice is that FlexiHub works on Windows, Linux, Android, and macOS, so you can easily create cross-platform connections and share devices even more efficiently.

How to Access Files From a USB Drive With TeamViewer

teamviewer logo

If you choose to use TeamViewer's File Transfer feature, you'll need it installed on all systems taking part in the connection, the remote systems you want to access and the computer you're managing from. TeamViewer connects over the internet, so the computers don't need to be on the same local network.

The other requirement is to install the software on all systems that will take part in the connection. These include remote systems you want to control and the master station from which you will manage the remote machines.

Now, let’s select a device for sharing. It should be mentioned that most often users try to remotely connect to storage devices with TeamViewer, as it may be inconvenient to constantly unplug your USB flash drives or external hard drives to connect them to another computer. RDP and TeamViewer also differ significantly in speed and bandwidth usage, see the RDP vs TeamViewer performance comparison to evaluate which protocol fits your workflow better.

Here’s a simple guide on how to access USB using TeamViewer:
  • 1.
    Attach the device you need to share to your local computer with TeamViewer installed.
  • 2.
    Launch the app and find the File Transfer option on the main menu. When you select this option, you’ll see a window that is similar to an FTP file transfer window. Your remote system will be displayed on the right and your local system is shown on the left.
  • 3.
    To transfer the required files, select them on either side and click “Send” or “Receive” correspondingly.

As a result, TeamViewer's File Transfer is a simple way to move files off a USB drive remotely. For scanners, webcams, dongles, or other devices the remote computer needs to detect directly, use FlexiHub instead. What’s more, by running TeamViewer on a laptop or a tablet, you get even more options to control your remote USB devices from any place in your house.

Share USB to TeamViewer
  • 4.8 overall rank based on 386+ users
  • Requirements: Windows, macOS, Linux, Android and Raspberry Pi.
  • 11.63MB Size.
  • Version 7.0.15594. (19 May, 2026).
  • Pricing starts $39 per month